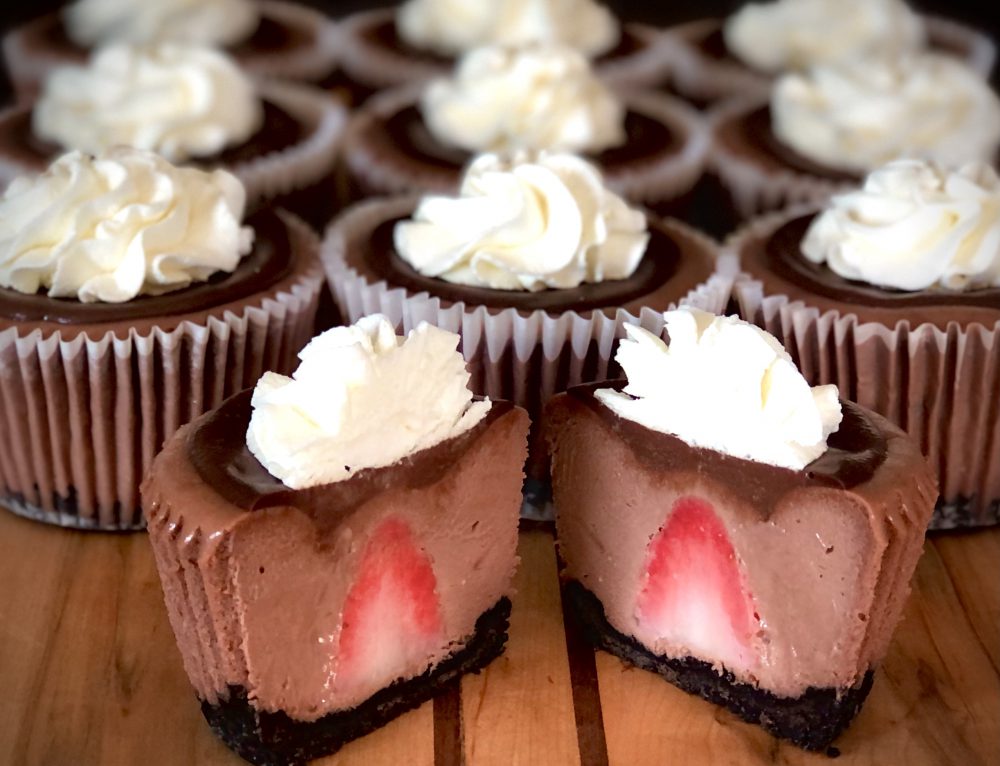
The first time I had anything Black Forest, it was a trifle. I asked the party host, “What is Black Forest?” My eyes widened and mouth gaped open as she described it as being a dessert that combines chocolate, cherries, and whipped cream. Say no more, you had me at hello.
Finding shortcuts in recipes where I can is one of my favorite ways to improvise, and this was a great opportunity to grab a can of cherry pie filling at the grocery store. Cherry Cheesecakes alone are fantastic, but throwing in chocolate and whipped cream was the cherry on top. Literally.
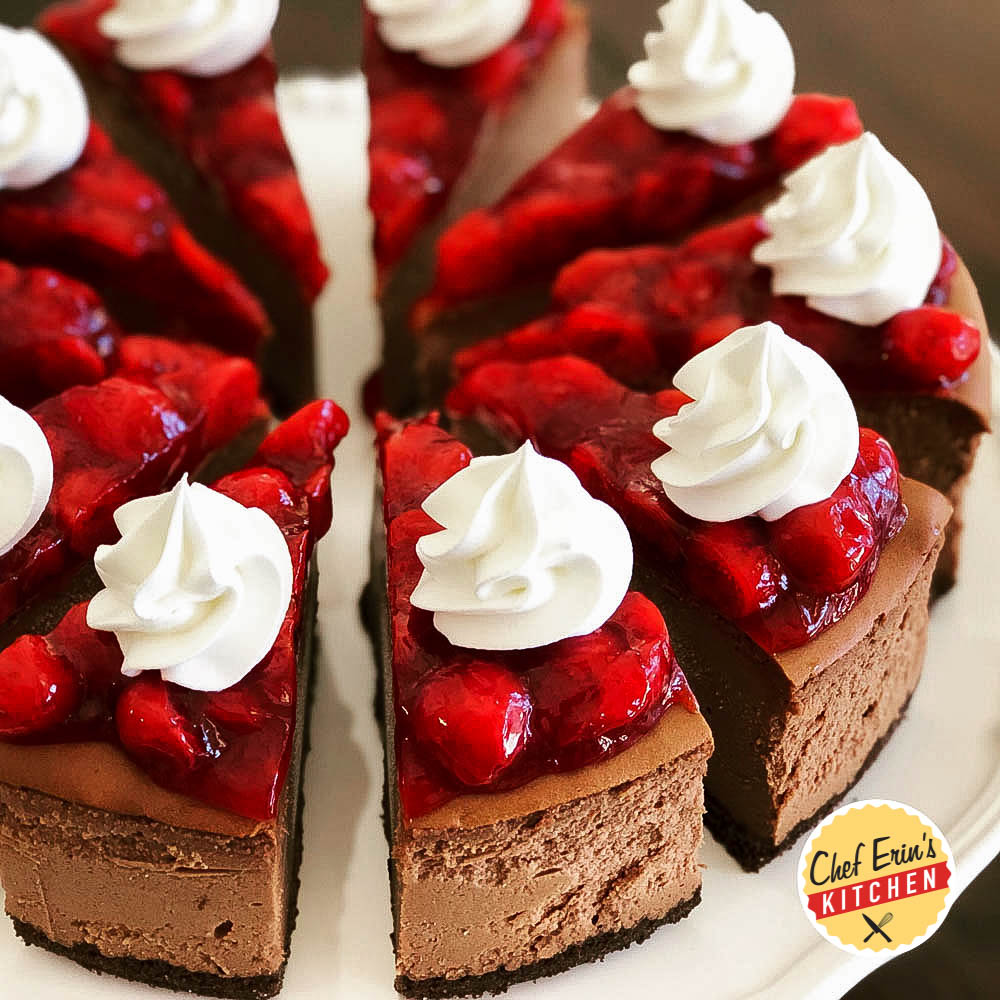
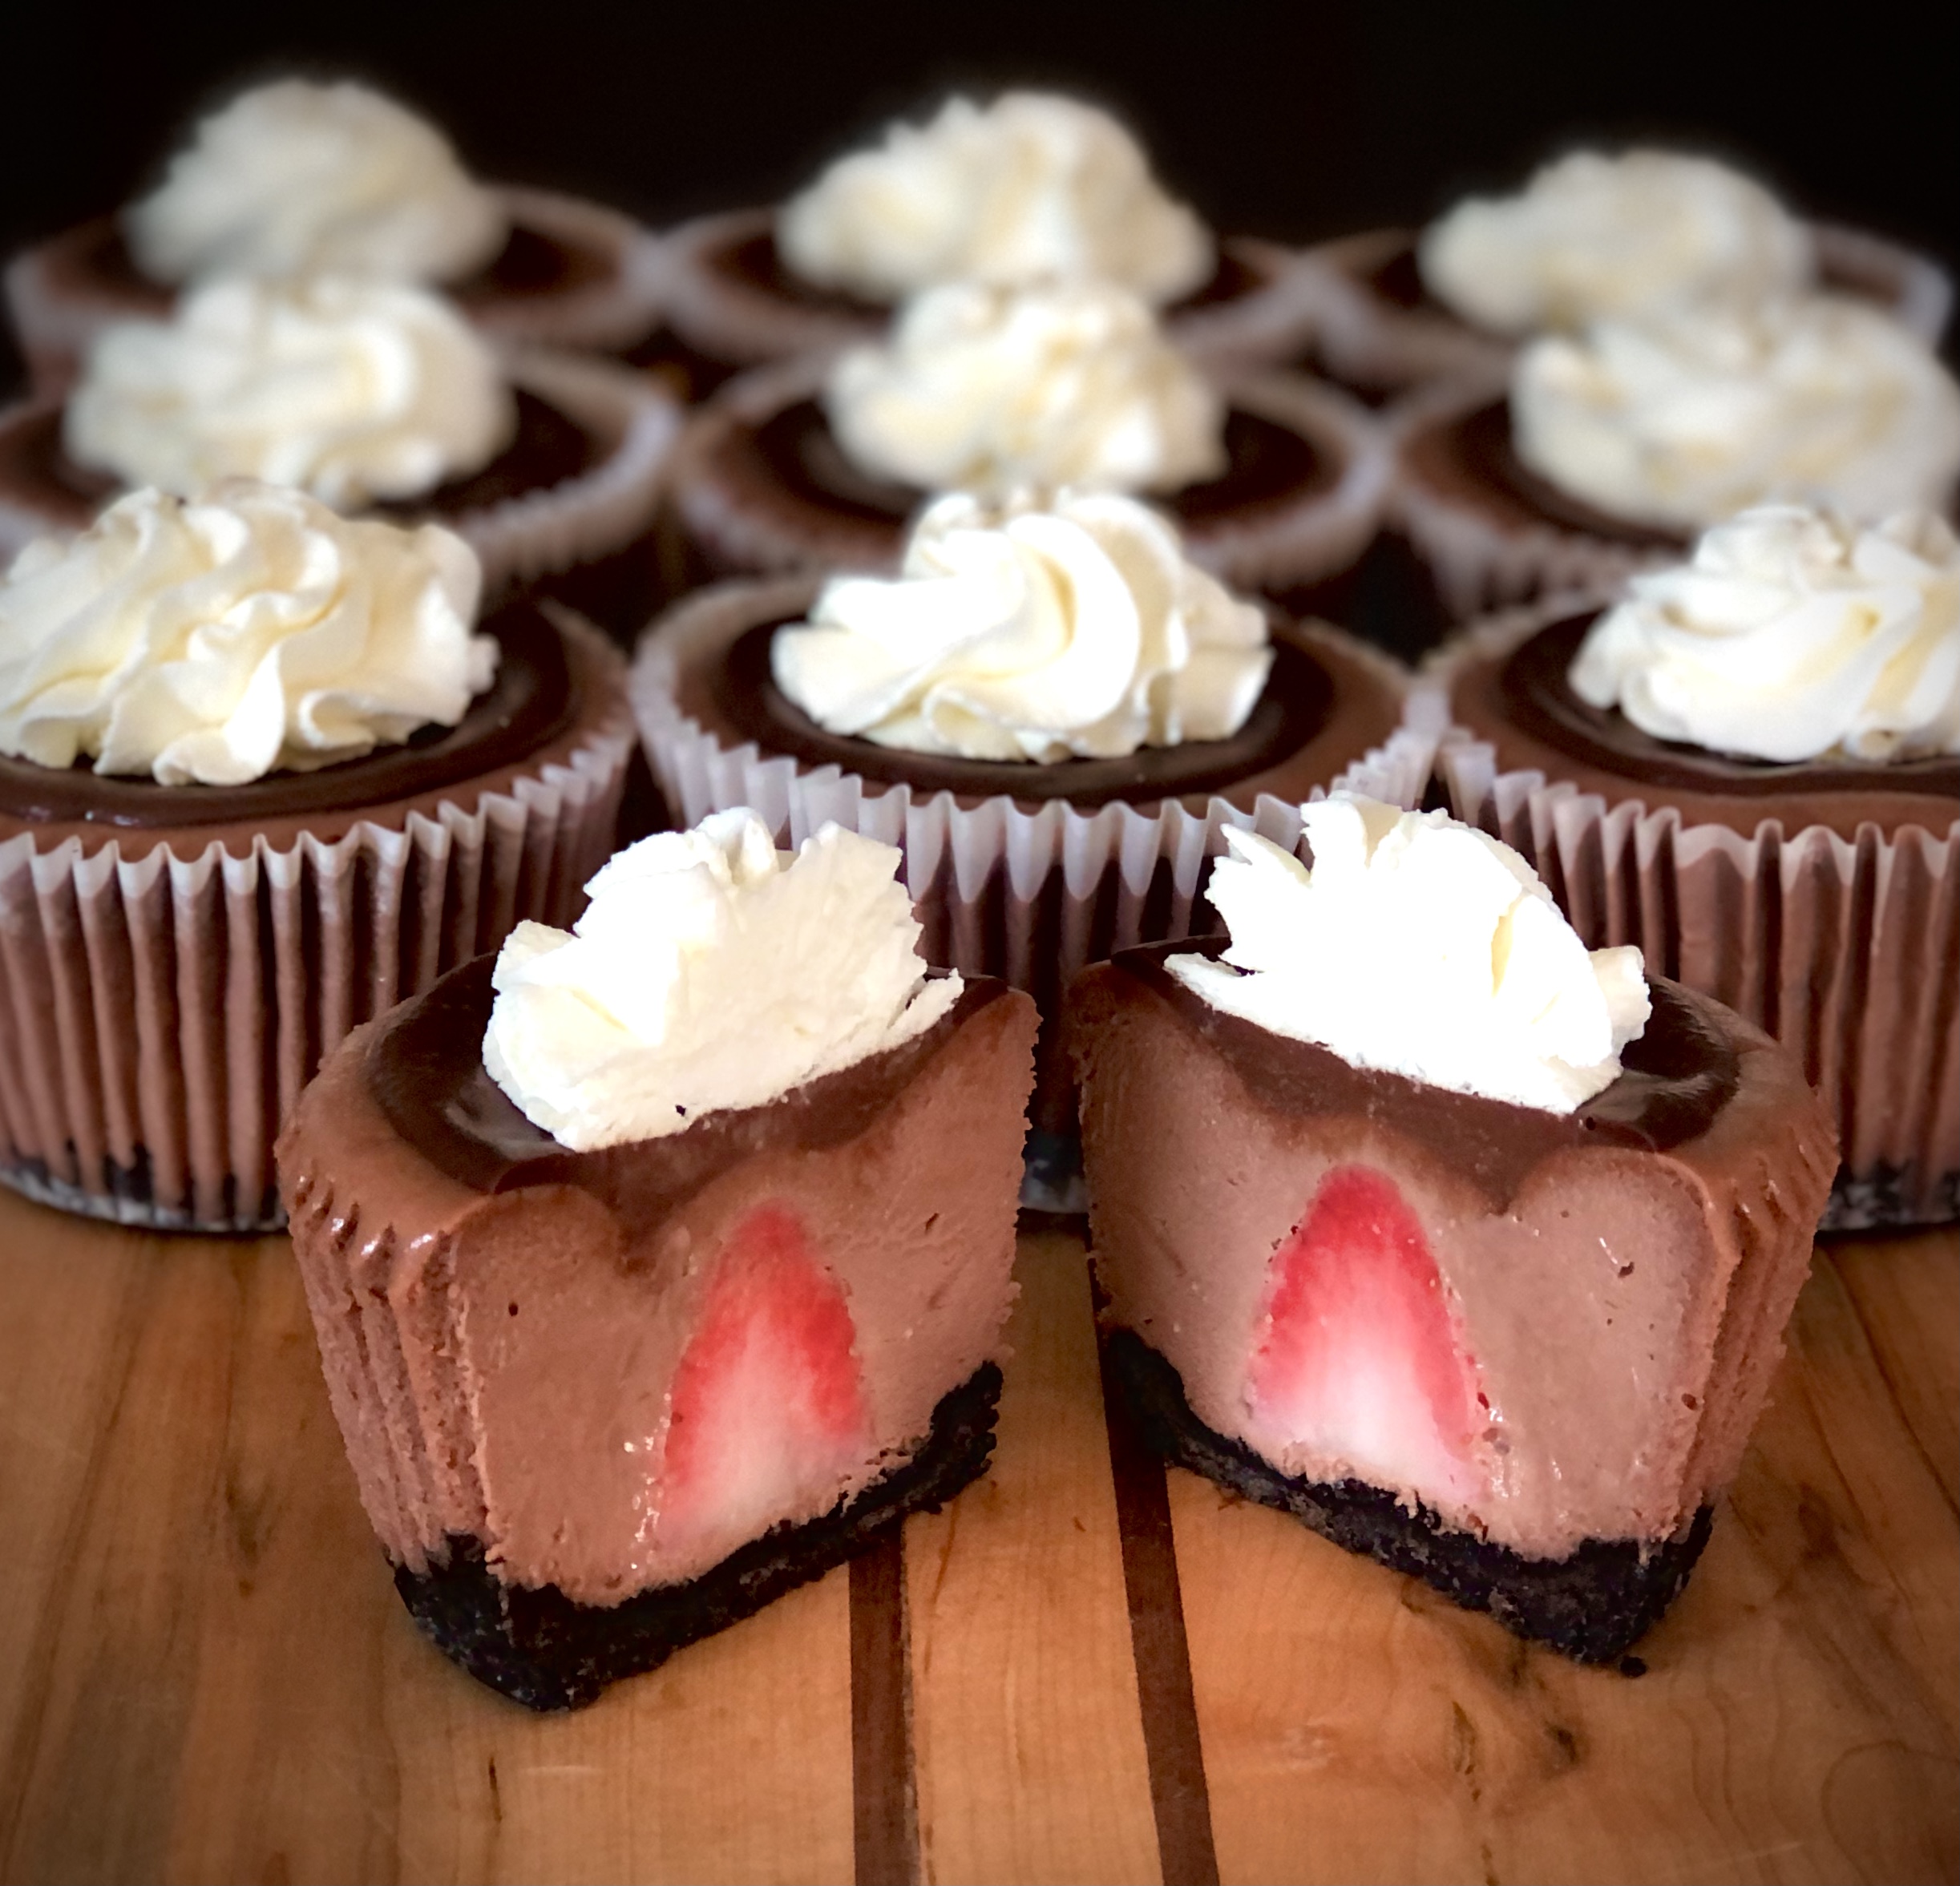
This is a rich, chocolate New York style cheesecake on a chocolate crust, topped with cherry pie filling and whipped cream. Be prepared to fall in love as much as I did with this cheesecake.

Black Forest Cheesecake
For the Crust
1 1/2 cups chocolate graham cracker crumbs
2 tablespoons granulated sugar
6 tablespoons unsalted butter, melted
For the Filling
4 (8 oz.) packages cream cheese, softened
¼ cup cornstarch
2 tablespoons unsweetened cocoa
1 2/3 cups granulated sugar
2 eggs
1 tablespoon vanilla extract
¾ cup heavy cream
10 oz. semisweet chocolate chips
For the Topping
1 can cherry pie filling
frozen whipped topping, thawed
Preheat oven to 350 degrees. Double-wrap the outside of a 9 inch springform pan with heavy duty aluminum foil, place inside a 12 inch cake pan. Place graham cracker crumbs and 2 tablespoons sugar in a small mixing bowl, toss together. Add the melted butter and mix with your hands until thoroughly combined. Rub butter all along the bottom of the springform pan, then press mixture evenly along the bottom. Place pans in the oven to bake for 7 minutes, remove pans from oven and set aside.
Heat ¾ cup heavy cream in microwave for 45-60 seconds, or until it starts to boil. Pour over 10 oz. chocolate chips in a small mixing bowl and whisk together until melted, set aside. In a standing mixer (or in a mixing bowl using an electric mixer), add 8 oz. cream cheese, cornstarch, and 2/3 cups sugar. Beat at medium speed with the paddle attachment until mixture is smooth. Add cocoa and another 8 oz. cream cheese, along with 1/3 cup sugar and continue to beat until smooth. Add remaining cream cheese and granulated sugar, one at a time, until smooth. Slow mixer to stirring speed, add vanilla, and one egg at a time, scraping down the sides. Turn on to stirring speed and slowly add melted chocolate just until mixed in (do not overmix). Spoon mixture into springform pan on top of crust and spread into an even layer.
Pour warm water into the larger cake pan, creating a water bath (this prevents cracks). The water should come up at least 1 inch around the springform pan. Carefully place pans in oven and bake for about 1 hour 25 minutes, until lightly browned on top. Remove pans from oven, pull the springform pan out of the larger pan and place on a cooling rack for about 4 hours to cool completely. Remove aluminum foil from around pan.
Cover springform pan with plastic wrap and place in freezer to set for at least 4 hours, but preferably overnight. Remove plastic wrap from springform pan. Release and remove sides of springform. Place a piece of parchment or wax paper on top of cheesecake, turn upside down on a flat surface. Carefully remove bottom of pan, turn back over onto a serving plate.
Spread cherry pie filling on top of cheesecake into an even layer. Place in freezer for filling to set, about 1 hour. Cut into slices with a sharp, straight edged knife, wiping knife between each cut. Garnish with whipped topping. Store cheesecake in refrigerator until ready to serve for up to 7 days, or in the freezer for 1 month.
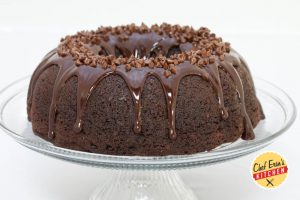
Chocolate Lover’s Bundt Cake
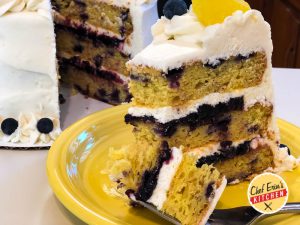
Lemon Blueberry Cake

Lobster Ravioli
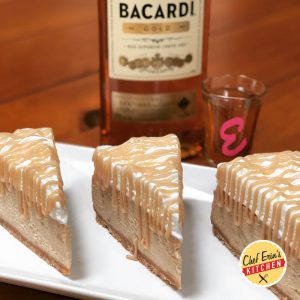
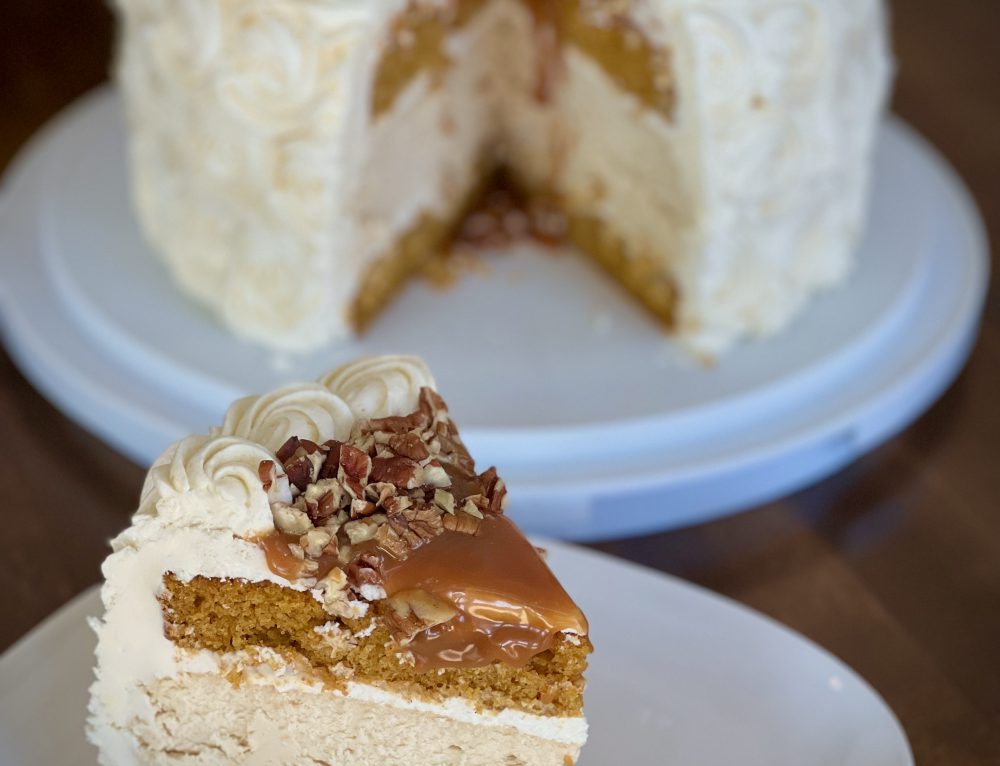
Bananas Foster Cheesecake
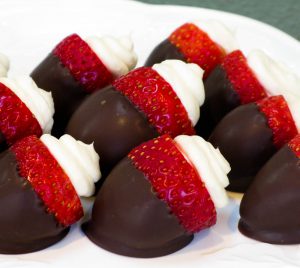
Chocolate Covered Cheesecake Stuffed Strawberries

Leave A Comment